
Resources
Blog
Insights on events, technology, and the future of gathering
Latest articles
Insights on events, technology, and the future of gathering
Quick answer: Canapii introduced five new platform features to help organizers run successful events: an on-site control panel with a customizable check-in kiosk, group registration for colleagues, team leaderboards for gamification, a shareable external gamification page, and chat restrictions that control which attendee types can message each other - all managed from the event Console.
Our team has been working hard to add new capabilities to the Canapii platform that enhance the overall experience of your in-person and hybrid events. Here is a closer look at what each update does and how to set it up.
The on-site control panel is a simplified version of the Console that is meant for event admins to use. The panel has two sections at the top: the Check-in kiosk and the event, session, and meeting check-in. When you create an access point (e.g., Meeting Zone A), it will automatically generate a unique access code. To use the access point, click the “Visit” button and enter the access code on the verification page. This acts as your login credential and signs your device into the kiosk you created. Admins can then use the access point to check attendees into sessions and meetings based on the settings you selected.
The kiosk check-in feature allows attendees to quickly check in at a tablet or computer. Attendees can either enter their email address or scan a QR code to check in - a convenient and efficient way for attendees to register their attendance onsite. Below is the check-in kiosk screen attendees will see.
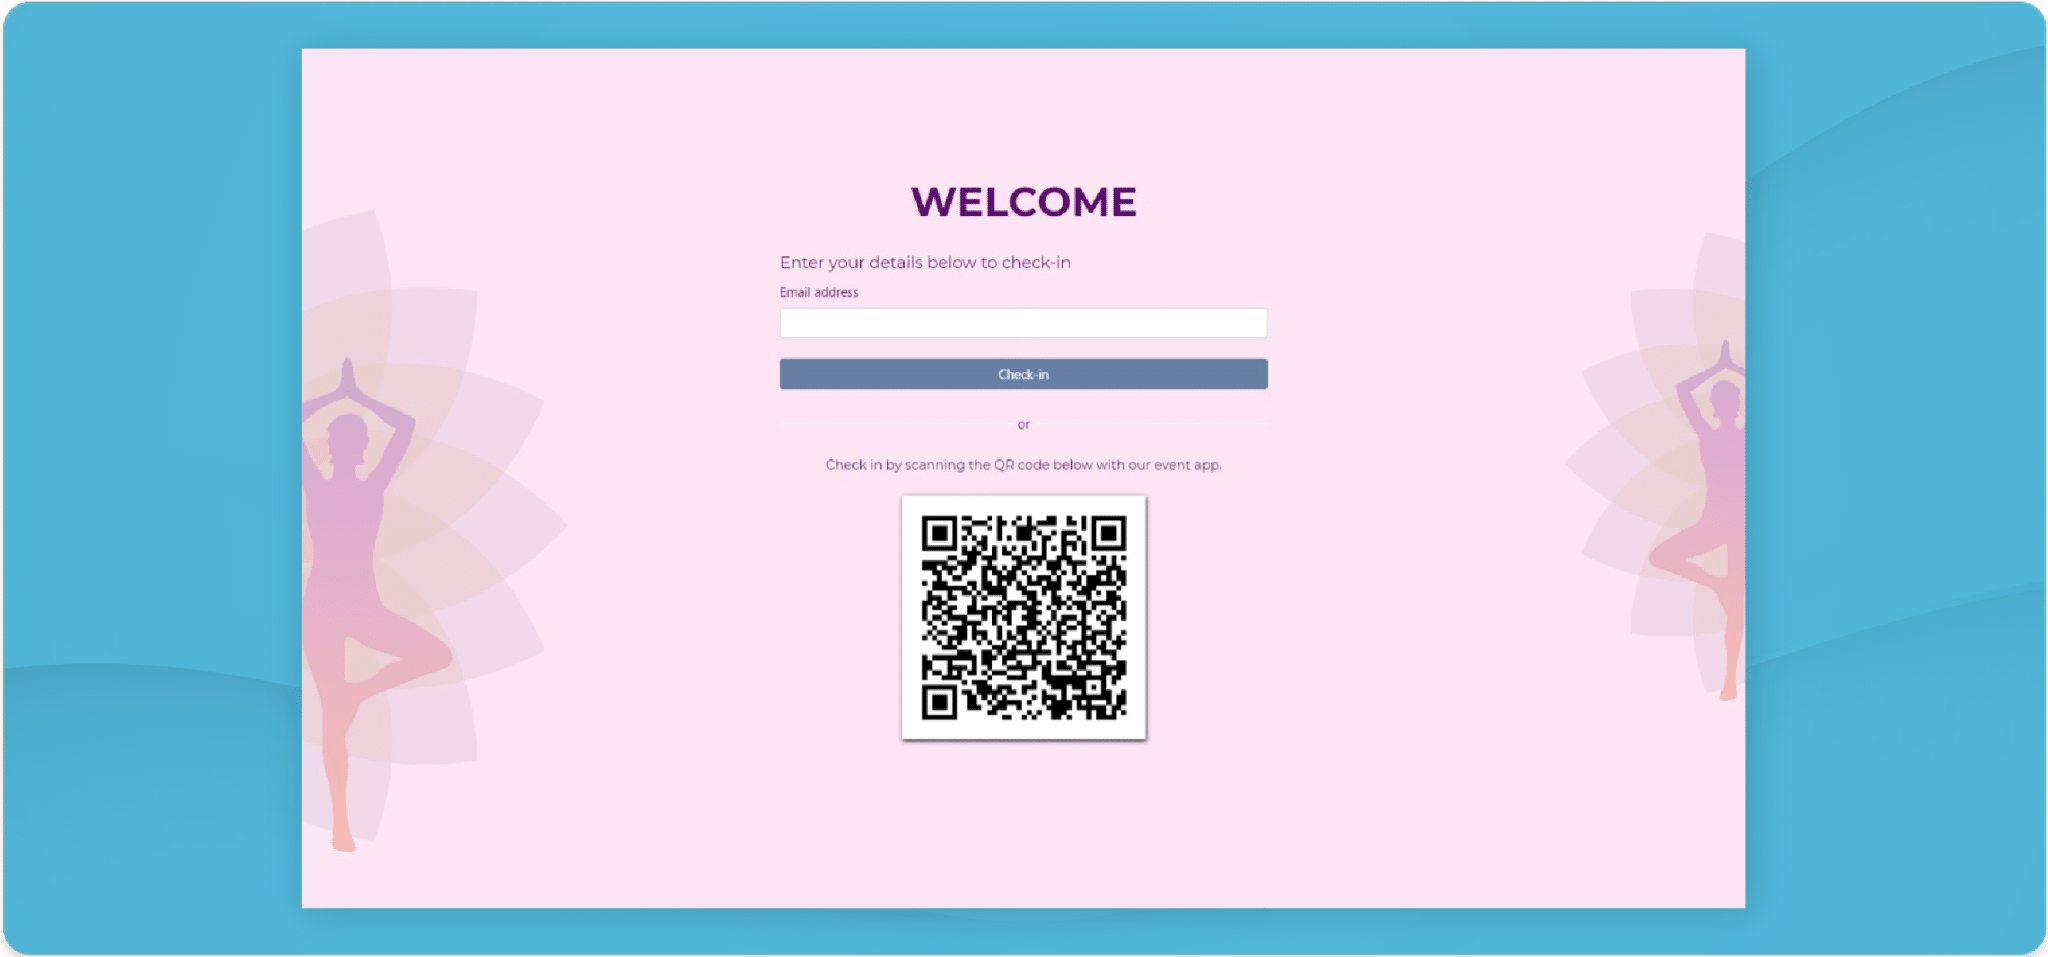
Setting up the kiosk layout is simple. You can choose a solid color or image for the background, change the text color, and customize the labels and time clock for the check-in and welcome screens - or disable them entirely. You can also decide whether attendees will check in using their email or a QR code, and whether the badge will be printed automatically or manually after check-in is complete.
Your attendees can now register for themselves and several colleagues thanks to the new group registration feature.
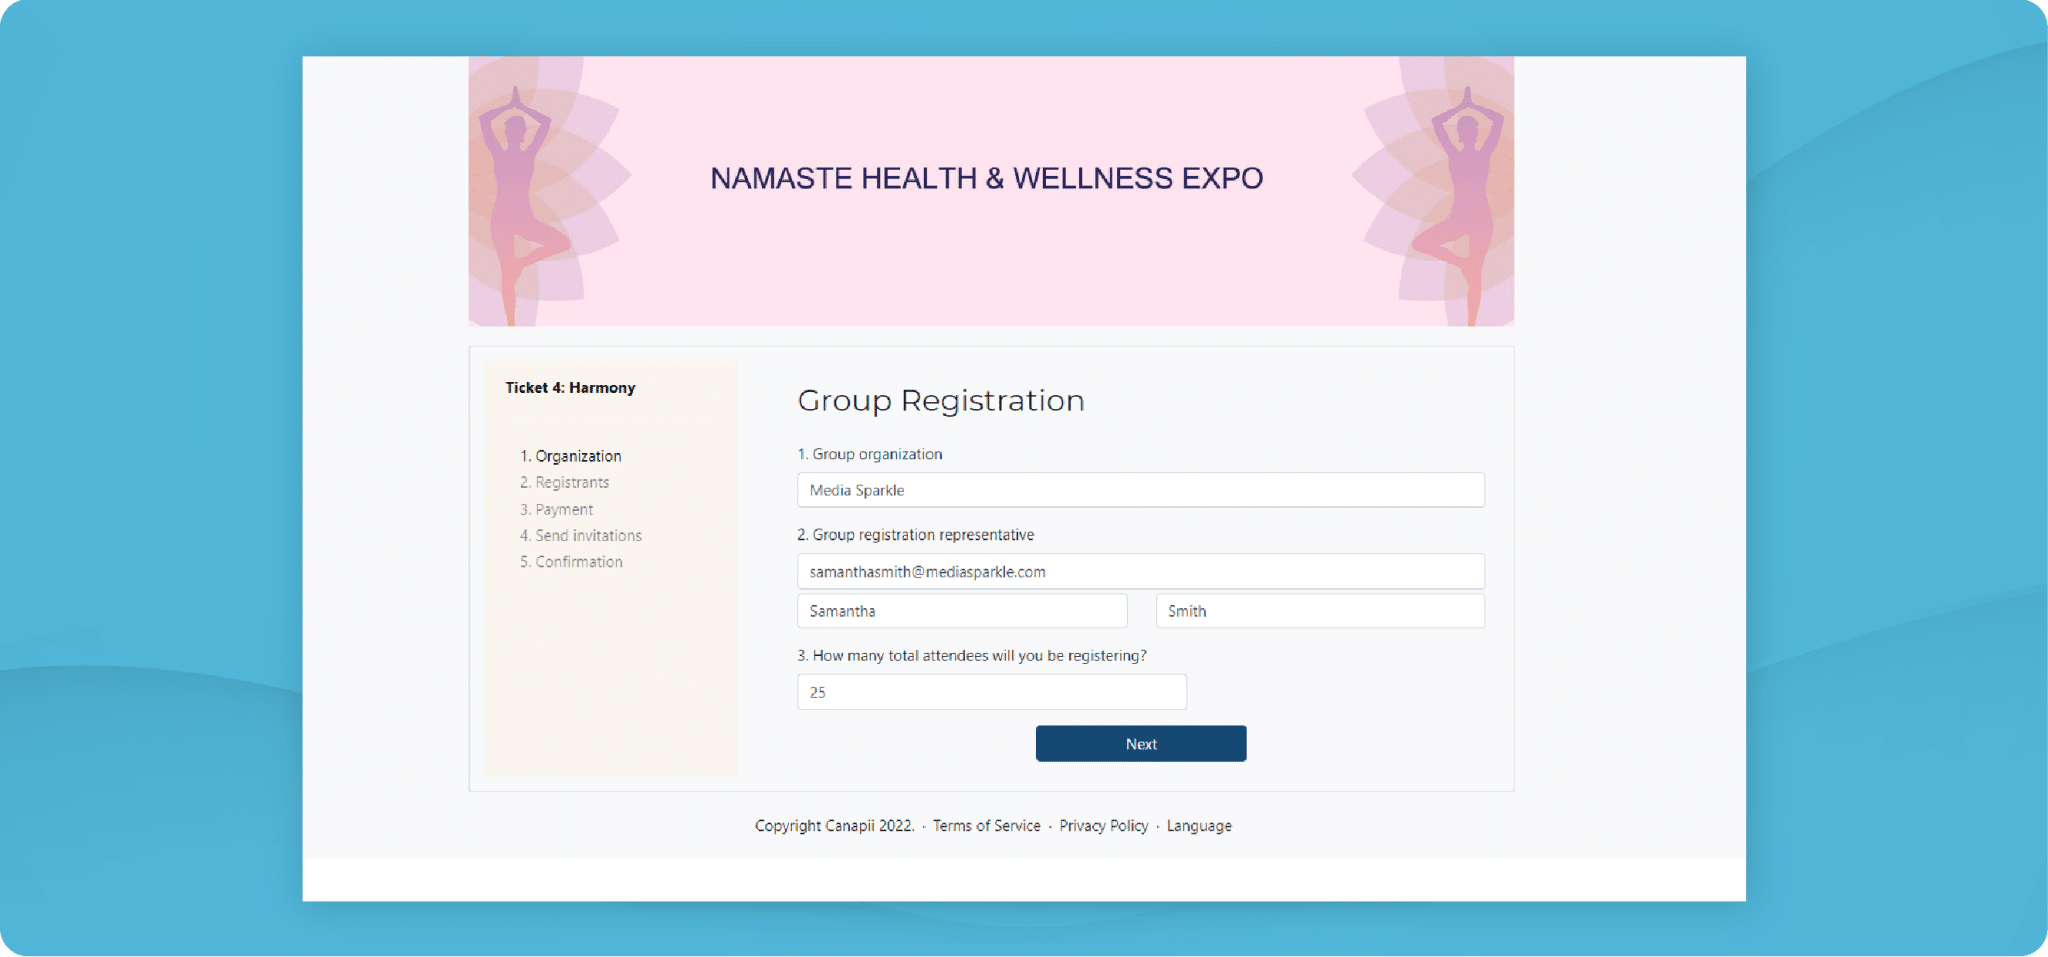
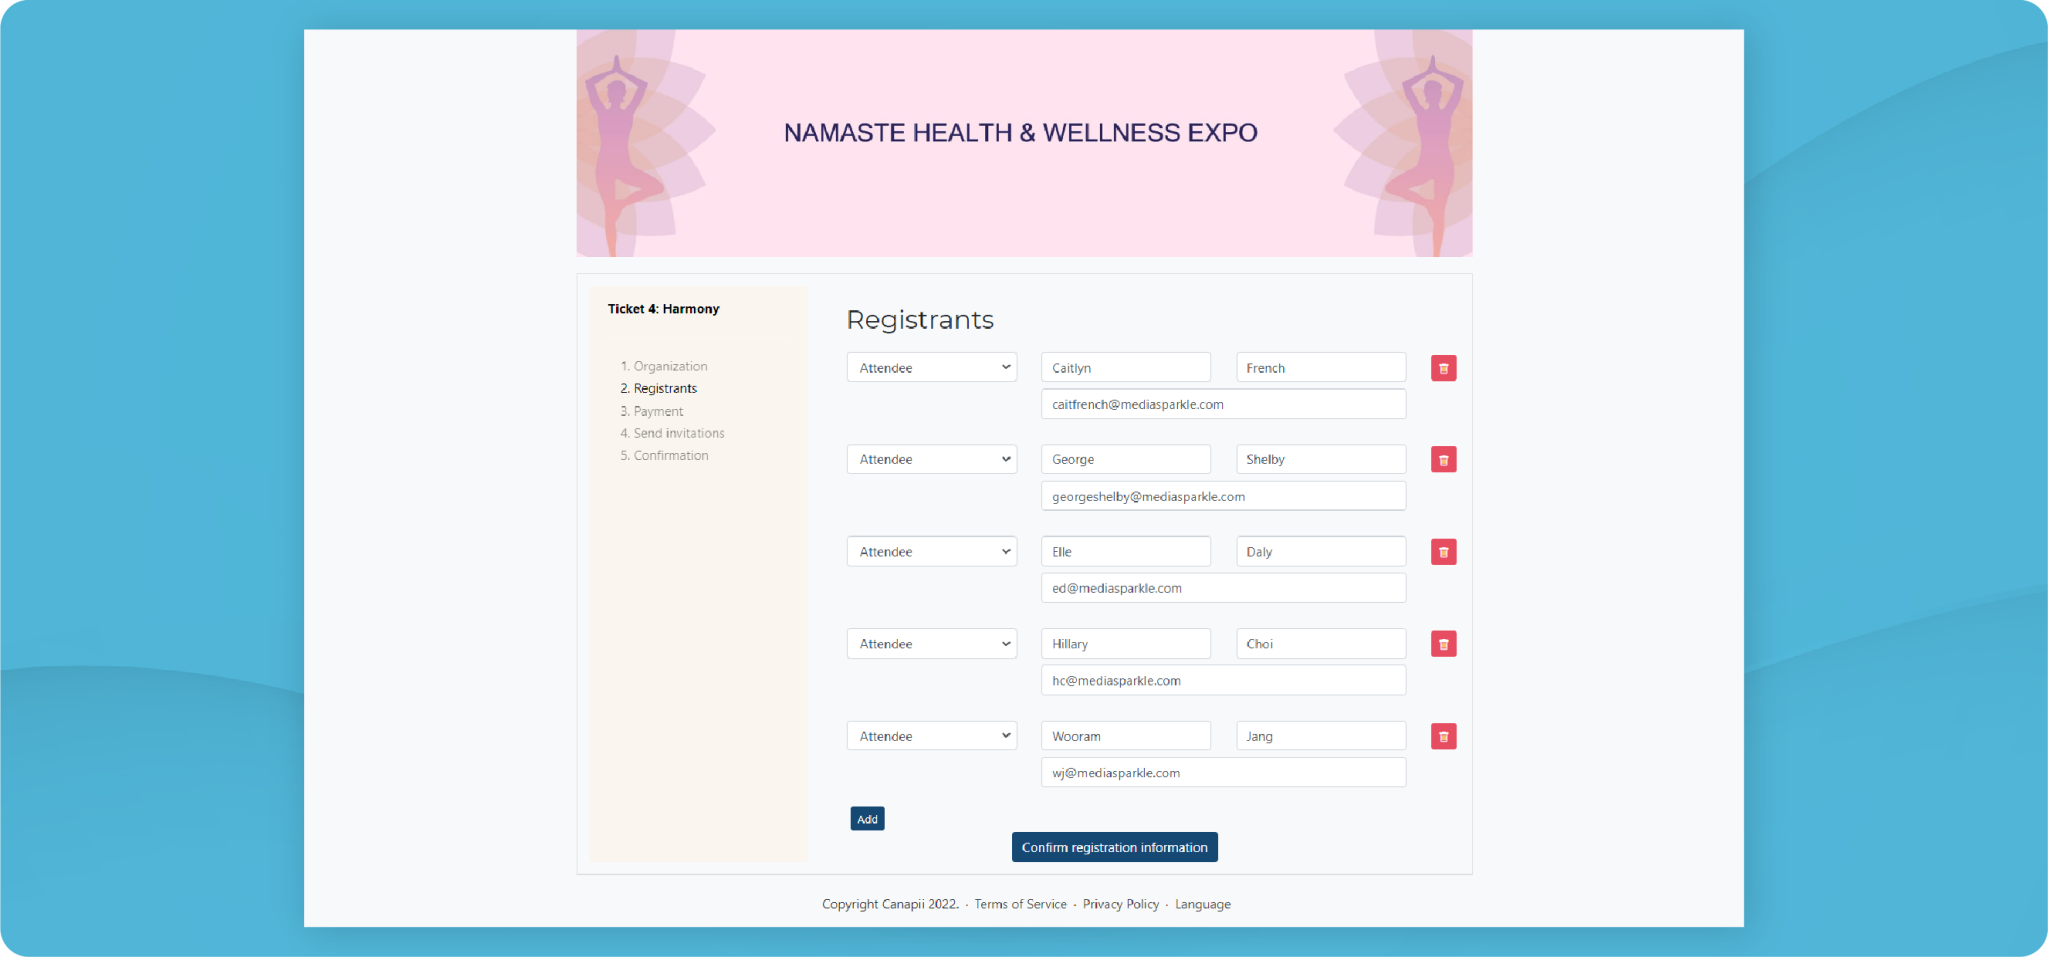
To set it up, open an existing ticket or create a new one and check the “Enable group registration” option at the top of the “Edit” modal. Once group registration is enabled, you’ll see a new field called “Max available registrants per group” in the modal. This is where you can specify the maximum number of additional registrants per group.
You can also leave this field blank if you want attendees to have unlimited additional registrations. Tickets with group registration enabled will show additional options during registration, as in the screenshots below.
We’ve made gamification easier with our latest feature - the team leaderboard. It lets you create leaderboards tailored to specific groups of attendees, which can improve the gamification of your event and increase its relevance for a team or a campaign. This makes your event more exciting and interactive, helping to keep your attendees interested and involved.
To access this feature, go to “Step 2” in the Console, then click on the “Gamification tab” and click on Settings.
To create a team, go to the “Teams tab” in the Settings page and click “Add team.” In the pop-up modal, you can add a team logo and title, toggle the status between Inactive and Active, and add team members. When you’re finished, click “Save”. Points earned by members of the team will go towards the team’s total score.
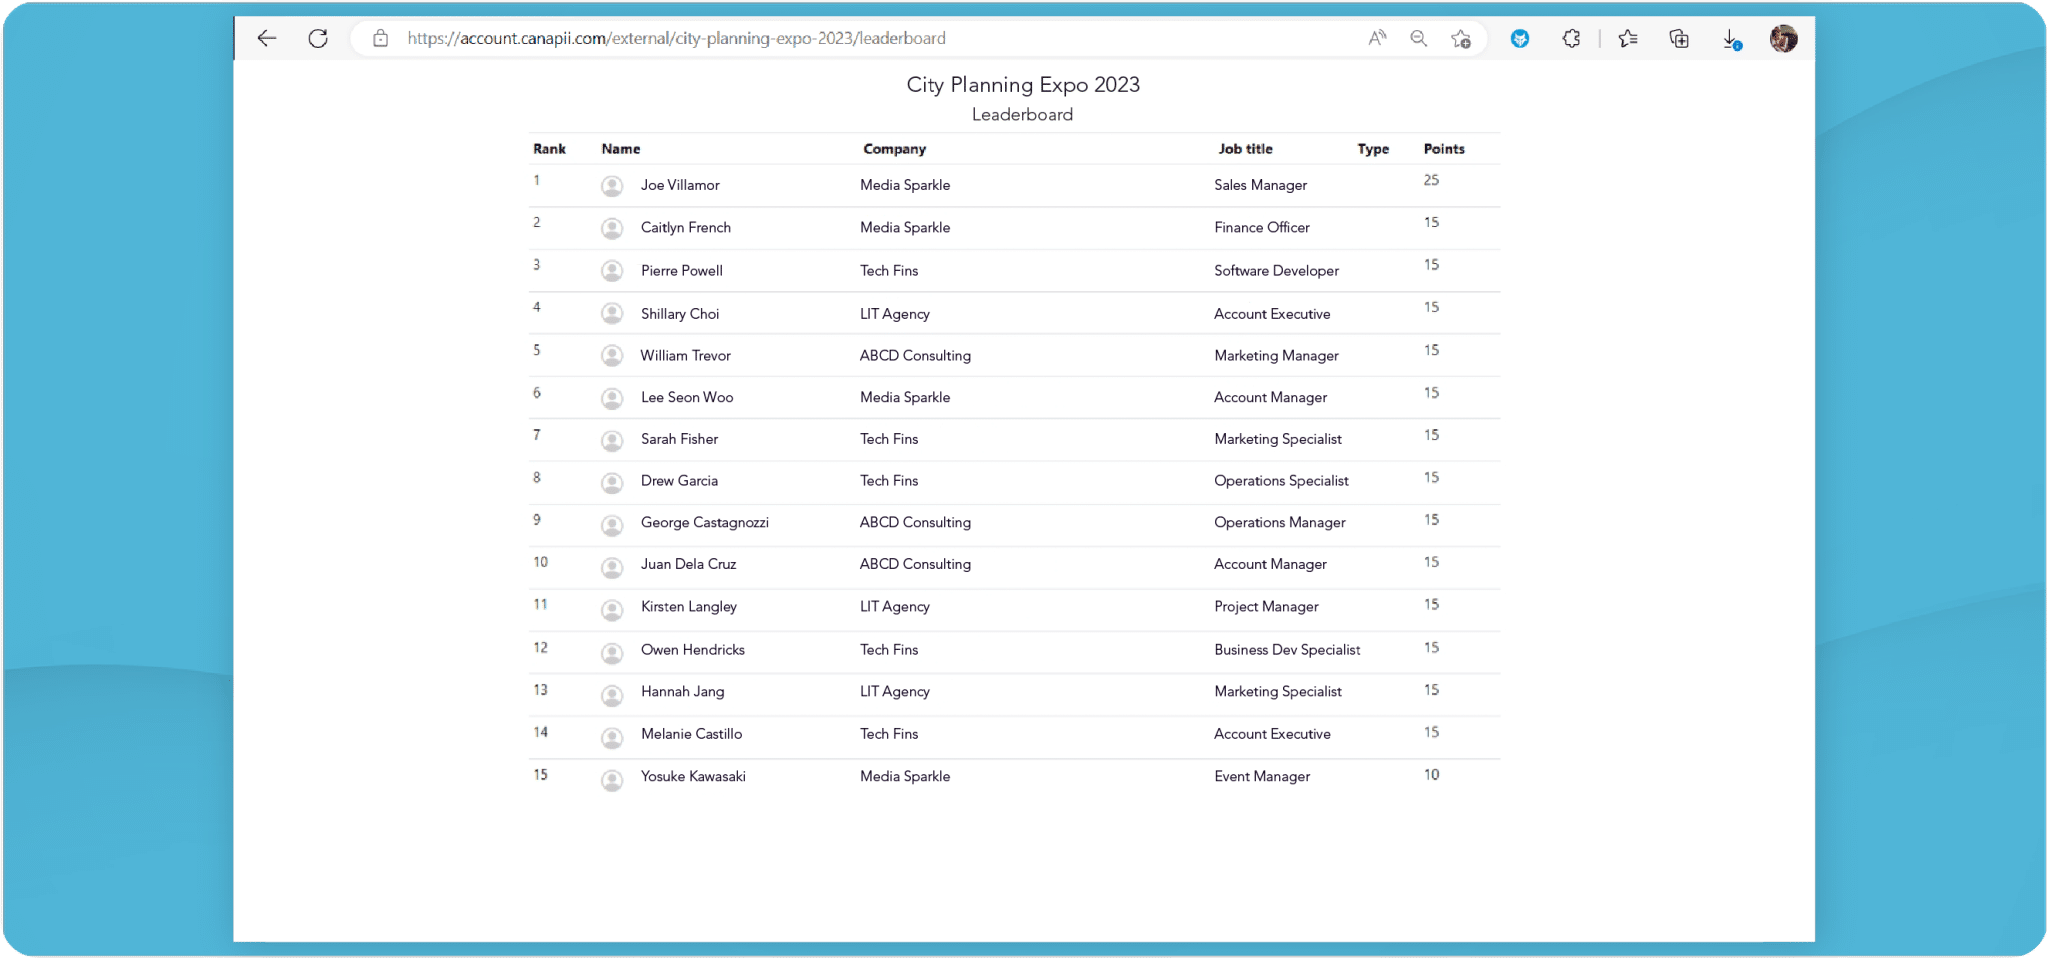
The Gamification page now has an external link that you can use outside of the Canapii platform. This allows you to share the leaderboard and results with others who may not be registered for the event.
To use this feature, go to the “Gamification tab” in the event Console, then click the “Setup external page” button. This opens a modal where you can set the visibility of the page, choose a background color or image, and set the font color. Once you’re finished, click “Save”, then click the “Get external page” button to generate a link that you can share. The link is automatically copied to your clipboard for easy sharing.
It is now possible to limit who can send chat messages to each other at your event. This can be useful if you want to control networking.
The process for restricting certain attendees from chatting with other attendees is quite simple. You just have to go to the “Chat tab” in the event Console and click on the “Private Chat” tile.
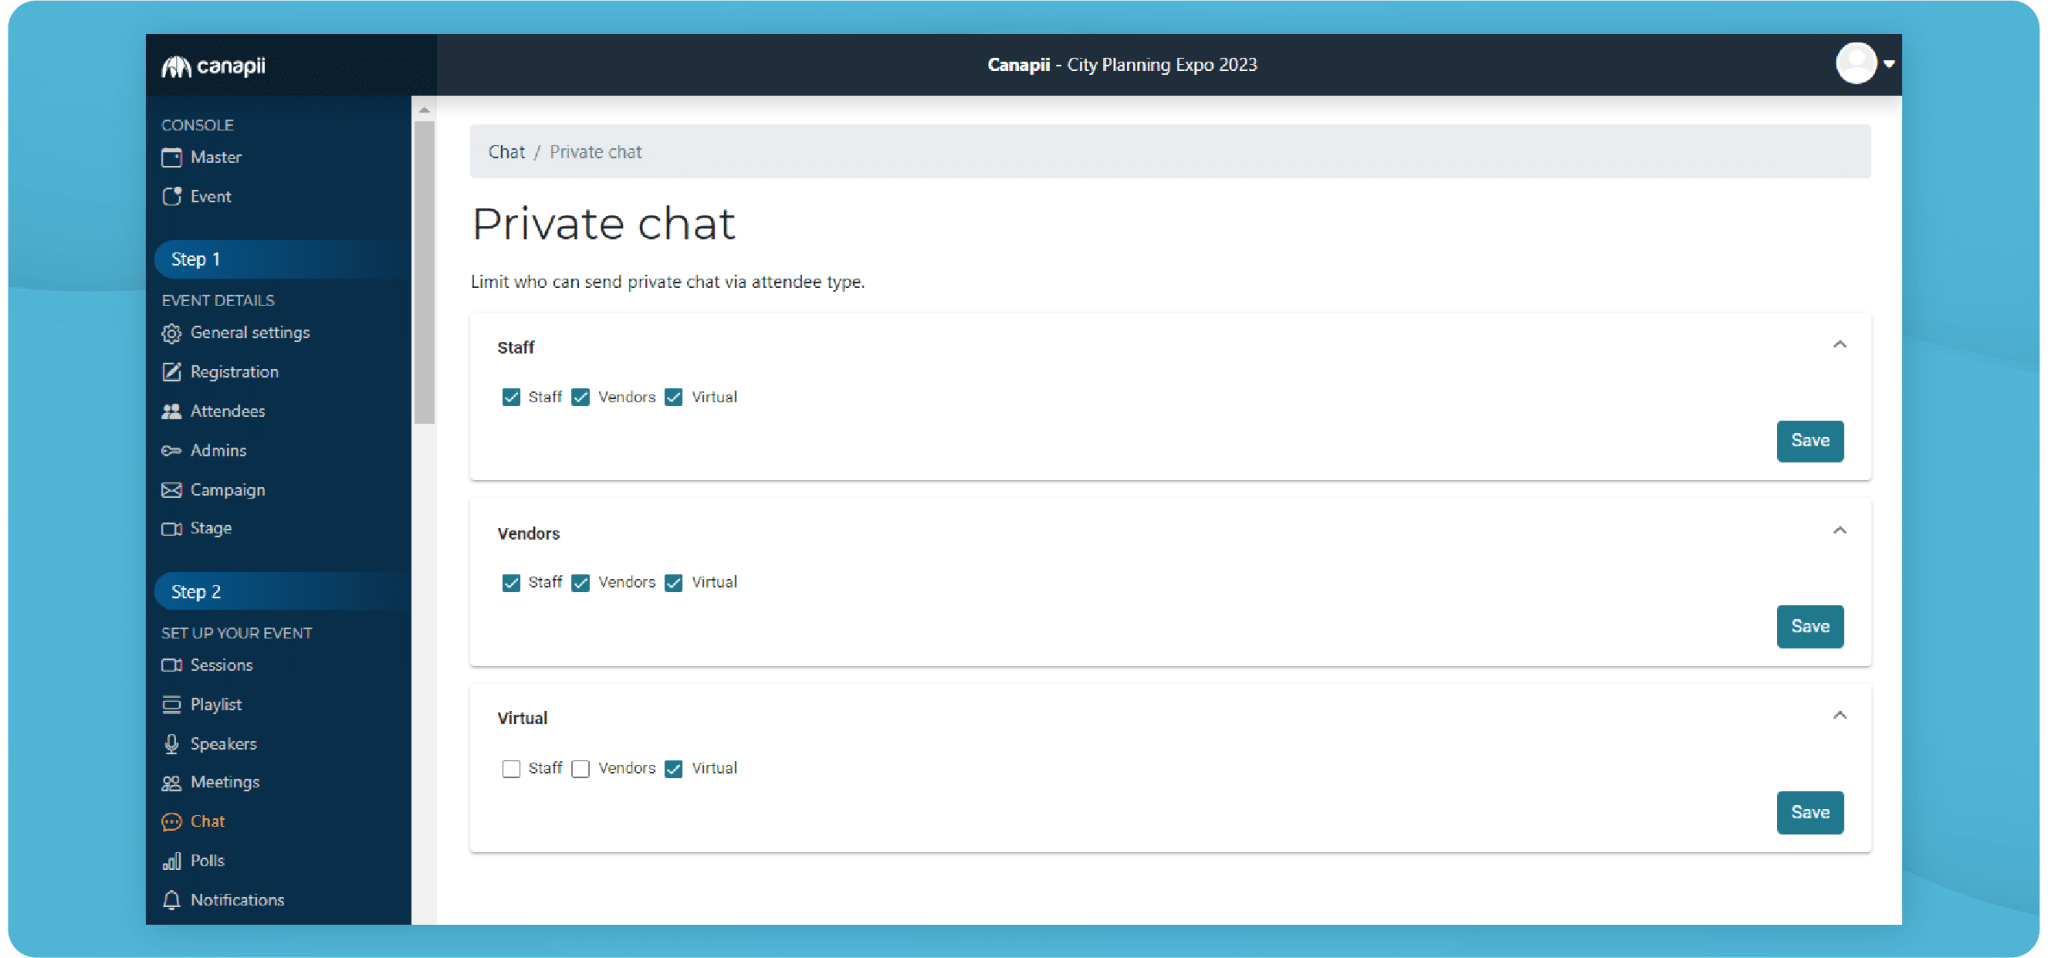
From there, you can set up restrictions for each attendee type. For example, you can allow sales attendees to send messages to guests, but not to sponsors. Note that these restrictions only apply to the first message - so if a sales attendee is able to send a message to a guest, the guest can still reply.
It is a simplified version of the Canapii Console built for event admins working at the venue. It covers the check-in kiosk plus event, session, and meeting check-in, and each access point you create generates a unique access code that signs a device into that kiosk.
Attendees check in at a tablet or computer by entering their email address or scanning a QR code. Depending on your settings, their badge is then printed automatically or manually once check-in is complete.
That is up to you. The “Max available registrants per group” field on the ticket sets the maximum number of additional registrants - or you can leave it blank to allow unlimited additional registrations.
Yes. The external gamification page generates a shareable link that works outside the Canapii platform, so you can share leaderboard results with people who are not registered for the event.
No. Restrictions only apply to the first message. If a restricted attendee type receives a message from someone who is allowed to contact them, they can still reply to that conversation.
Canapii has powered 2,000+ events for 300,000+ attendees across 45+ countries. Ready to spice up your in-person, hybrid, and virtual events with these features? Contact our team today.